
Like
Share
멍실장
가정에서 응급 붕대 감기, 어떻게 해야 하나요?

How to Apply Emergency Bandages at Home

ImmunityQ&AMeongsiljang Veterinary Advisory Board

Here are the basic principles and step-by-step instructions for applying emergency bandages to your pet at home. We’ve also included important tips for specific body areas and clear guidelines on when it’s time to visit the vet.

What Is Home Bandaging?

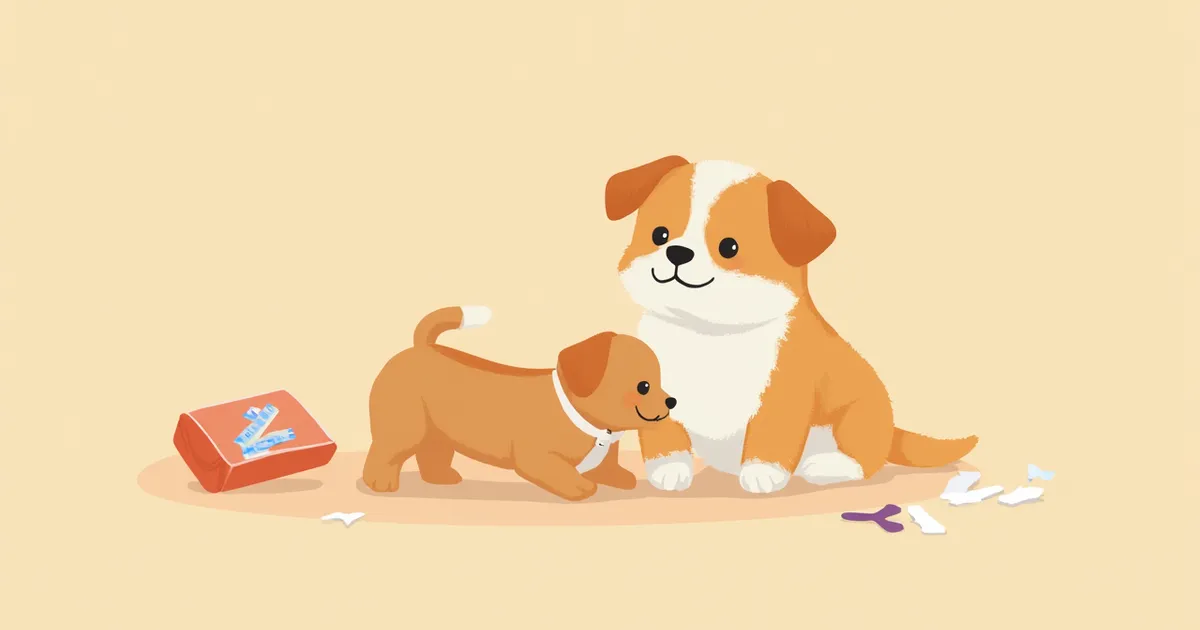
Preparing an emergency bandage for your pet
Home bandaging is an emergency first-aid technique that pet owners can perform at home to control bleeding and prevent wound contamination before transporting their injured pet to the veterinary clinic. The primary goals are hemostasis and protection. By covering the wound with sterile gauze and securing it with an elastic bandage, you can safely transport your pet to the clinic. Please remember that this is a temporary measure, not a definitive treatment.

Situations Where Home Bandaging Is Essential

Not every wound requires a bandage; superficial scratches are often adequately treated with disinfection alone. However, in the situations below, you should immediately cover the wound with clean gauze, apply gentle pressure, and proceed to a veterinary clinic. In particular, penetrating wounds require thorough examination and irrigation of the wound tract by a veterinary surgeon, so please do not attempt to manage them at home.
Persistent bleeding: Wounds that continue to bleed despite applying pressure with clean gauze
Open wounds: Cases where the skin is torn and underlying tissue is visible
Foreign body exposure: When foreign objects such as glass or thorns are embedded in or have penetrated the skin
Pad injuries: Damage to the paw pads that causes bleeding with each step
Suspected fracture: When a leg is abnormally bent and immobile

Three-Layer Home Bandage Structure – Step-by-Step Application

The basic bandage recommended in veterinary surgery textbooks consists of three layers. I’ve summarized the role and materials of each layer in a table.

Three-Layer Bandage Structure and Materials

ItemLayer 1 (contact layer)Layer 2 (middle layer)Layer 3 (outer layer)
RoleDirectly covers and absorbs the woundCompression/paddingFixation/waterproofing
Recommended materialSterile gauze padCotton bandage or cast paddingSelf-adhesive elastic bandage (Coban)
Wrapping directionPlace directly over the woundSpiral upward from the toesOverlap over layer 2
CautionsDo not use cotton/tissue (fibers stick)Too thin only increases compressionDo not let it contact skin directly

For all three layers, leave 2–3 toes exposed on the outside so you can check blood circulation.

Step-by-Step Guide to Bandaging the Legs

The legs are the most commonly bandaged area. While the steps are straightforward, controlling the pressure is key.
Step 1: Gently rinse the wound with saline solution.
Step 2: Place sterile gauze over the wound.
Step 3: Leaving only two or three toes exposed, wrap a cotton bandage in a spiral pattern from the tip of the paw upward.
Step 4: Wrap a self-adhering elastic bandage over the cotton layer, overlapping each wrap by 50%.
Step 5: Secure the end by pressing the adhesive surfaces together.
If the exposed toes become swollen or cold after bandaging, remove the bandage immediately.
Step-by-step demonstration of wrapping a bandage around a puppy’s front leg

Mistakes to Absolutely Avoid

The most dangerous mistake when applying bandages at home is wrapping them too tightly. If blood circulation is cut off, the exposed toes may turn red, swell, become cold, and suffer tissue damage, so it is essential to check the tightness and the condition of the toes after wrapping. - Do not stretch elastic bandages while wrapping (wrap them as they are without tension) - Do not completely cover the toes (circulation cannot be checked) - Do not secure with rubber bands, strings, or regular tape (can cause skin damage) - Do not apply ointment thickly to the wound before bandaging (can worsen infection) - Do not leave emergency bandages in place for too long (they are only temporary measures; wetness or odor signals infection) If the bandaged toes turn purple, feel cold, or show swelling, remove the bandage immediately and go to the clinic. It is best to use non-adherent dressings that do not stick to the wound and to keep the wound moist and clean.

Bandaging Tips and Limitations by Body Area
You can’t wrap every area in the same way; each body part requires its own technique.
Paw pads and toes: These are the easiest areas to wrap. Apply the three-layer bandaging method as described.
Ears: Fold the ear flat against the head and wrap around the entire head to secure it. This helps prevent hematoma recurrence.
Chest and abdomen: Do not wrap these areas completely. Instead, secure the bandage in a figure-eight pattern over the shoulders.
Tail: Avoid wrapping the entire tail length. Wrap only the injured section briefly.
Head and neck: Do not attempt to bandage these areas at home. Apply gentle pressure with gauze and transport your pet to the clinic immediately.
Fractures and joint dislocations cannot be stabilized with home bandages. Secure your pet by wrapping them in a towel or placing them in a box for safe transport.
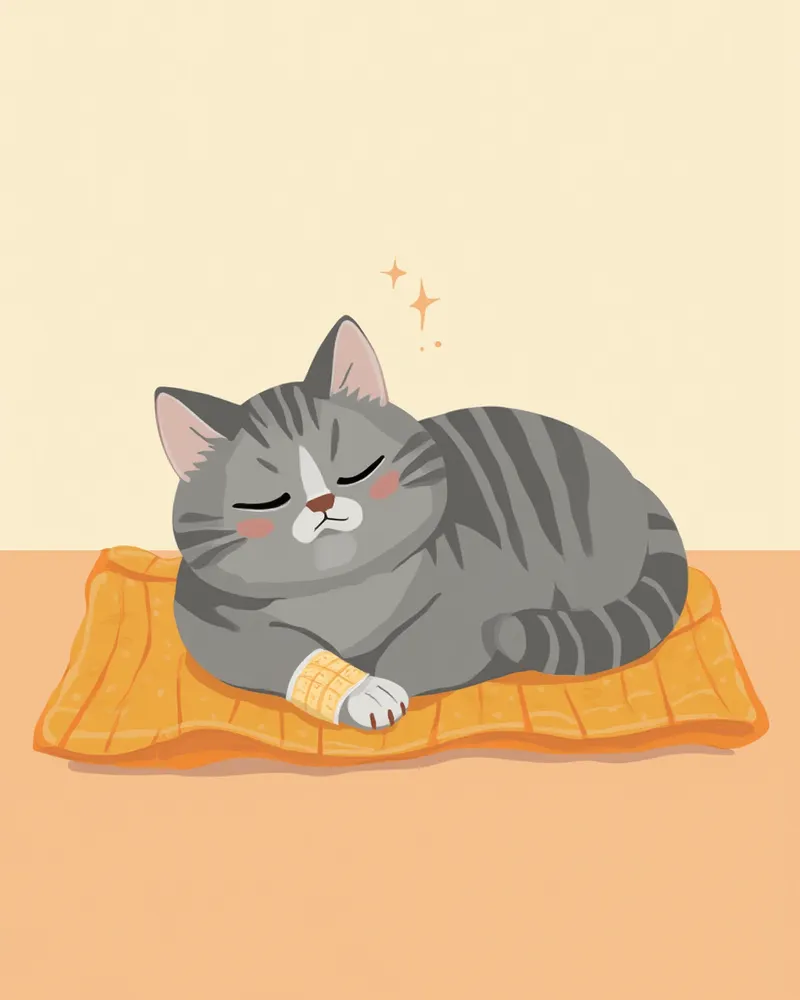
A cat with a small bandage wrapped around its front paw.

When to Go to the Vet Instead of Applying a Home Bandage

In some situations, even the time it takes to apply a bandage can be critical. Apply direct pressure to control bleeding and head to the vet immediately. - Arterial bleeding where blood spurts out like a fountain - Wounds that are 5cm or larger - Penetrating injuries to the abdomen or chest - Open fractures where bone protrudes through the skin - Severe wounds around the head, neck, or eyes - Signs of shock (pale gums, labored breathing, decreased consciousness) In these cases, applying strong pressure with a clean towel to stop the bleeding and heading straight to the vet can save your pet’s life.

Bandage Care and When to Change It

Home-applied bandages are intended only for emergency transport and should not be left in place for extended periods. While post-visit care should follow your veterinarian’s instructions, if transport to the clinic is delayed, please adhere to the following guidelines:
When to change: Replace the bandage if blood soaks through to the outer layer, if it becomes wet, or if it develops an odor.
Check frequency: Inspect the toes every 2–4 hours for changes in color, temperature, or swelling.
Preventing licking: Use an Elizabethan collar; bandages can unravel within minutes if licked.
Walking: Do not take your pet outdoors while bandaged, as moisture significantly increases the risk of infection.
Cats experience considerably more stress from bandages than dogs do. Provide them with a hiding space and avoid forcing physical contact.
A dog wearing an Elizabethan collar

Reviewed by a veterinarian

Dr. Tony — Punnawat Phongkittirak

Dr. Tony — Punnawat Phongkittirak

Veterinarian

A veterinarian who majored in veterinary medicine at Khon Kaen University, Thailand, and completed the IVSA program at North Carolina State University in the United States. Drawing on clinical experience at animal hospitals, he works in the pet healthcare field and is dedicated to building a digital care environment that connects pet parents with veterinarians.

Frequently Asked Questions

I don’t have gauze at home. Can I wrap it with toilet paper or a towel instead?
Paper towels should never be used because their fibers can stick to the wound. While you can fold a clean cotton towel or handkerchief for temporary use, it’s best to cover the part that directly touches the wound with a single layer of plastic wrap or clean vinyl. Ideally, keep sterile gauze on hand in advance.
How long should I keep the bandage on before bringing my pet to the clinic?
Home bandages are intended for transport only. Emergency first-aid guidelines recommend temporarily covering wounds with a clean, moist dressing until definitive treatment can be provided, and emphasize seeking prompt veterinary care for proper management. Even if bleeding is minimal, do not delay—seek veterinary attention as soon as possible. This is especially important for wounds on the paw pads, joints, or face, as well as penetrating injuries that breach the skin, because the risk of infection and complications increases over time.
My cat keeps chewing off its bandage. What should I do?
An Elizabethan collar is a must. A soft, cotton collar can help reduce stress, but for cats that are determined to pick at their wounds, a plastic collar is safer. Lightly spraying a bitter-tasting deterrent on the outer layer of the bandage can also be helpful, but make sure it doesn’t come into direct contact with the wound.
My puppy’s paw pad is torn. Can I use glue to stick it back together?
Human instant adhesives contain different chemical ingredients and can cause tissue damage, so they are strictly prohibited. For pad injuries, clean the area, apply gauze, wrap with an elastic bandage, and then visit the clinic. Veterinarians use a separate surgical-grade adhesive.
My leg swelled up after wrapping it with a bandage. Should I unwrap it?
Yes, please remove it immediately. If the exposed toes appear more swollen, feel colder, or have changed color compared to normal, these are signs of impaired blood circulation. After removing the bandage, massage the area for 5–10 minutes to restore circulation, then re-wrap it loosely. If you don’t have time, take your pet to the vet right away.

Share

Related Guides

References

[1] Fossum, T.W., Small Animal Surgery, 5th Edition, Chapter 14 - Management of External Wounds, 2019

[2] Plumb, D.C., Veterinary Drug Handbook, 9th Edition - Emergency and Critical Care

[3] Ettinger, S.J., Textbook of Veterinary Internal Medicine, 8th Edition - First Aid and Emergency Management

This information is based on veterinary literature and does not replace diagnosis or treatment. Please consult a veterinarian for specific health concerns.

Metapet Co., Ltd. | CEO: Park Sung-yong | Business Reg. No. 417-88-02562 | Seoul, South Korea | Customer Center

How to Apply Emergency Bandages at Home for Pets | Meongsiljang