Like
Share
멍실장
반려동물 사진 잘 찍는 팁 10가지

Why Are Your Pet Photos Blurry? — 10 Essential Tips for Great Pet Photos

ImmunityQ&AMeongsiljang Veterinary Advisory Board

You can capture much more beautiful photos of your pets by simply keeping three things in mind: shooting at their eye level, using natural light, and having treats on hand. Here are some practical tips for taking studio-quality photos at home with just your smartphone.

Why Is Taking Pet Photos So Hard?
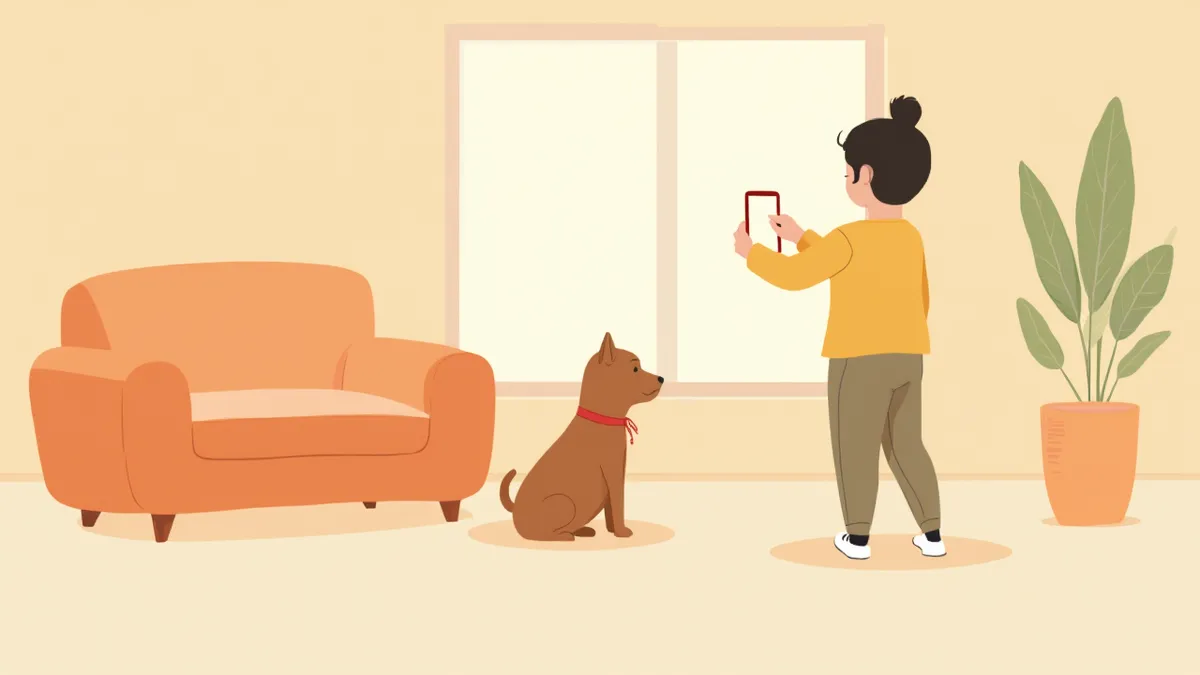
A pet owner taking a photo of their dog sitting on the living room floor with a smartphone.
The most natural pet photos are captured when three elements align: shooting at the pet’s eye level, using natural light, and timing the shot well. What truly matters is ensuring your pet is comfortable. Forcing poses or using a harsh flash can make their eyes look unnatural and their expression stiff. The key is to prioritize the environment and your pet’s comfort over equipment.

The First Thing to Change Is 'Eye Level'

If you take a photo from above, your pet’s head will look disproportionately large and their legs will appear shorter than they are. Instead, place the camera on the floor or lie down to align it with your pet’s eye level; this simple adjustment can completely transform the mood of the image, even though it’s the same pet. For small dogs and cats, simply kneeling down to take the photo can create a portrait-like atmosphere. If the floor is cold, just lay down a blanket for comfort.

Recommended Shooting Settings by Situation

ItemIndoor Natural LightOutdoor WalkNight / Dark Places
ModePortrait modeStandard / BurstNight mode OFF
FlashOffOffOff
FocusFixed on the eyesSelect during burstOnly when still
Recommended Time9–11 AM1 hour before sunsetWell-lit places

Turning off the flash is recommended in all situations. It causes glare and strains eye health.

Natural Light Is 10 Times More Beautiful Than Artificial Lighting
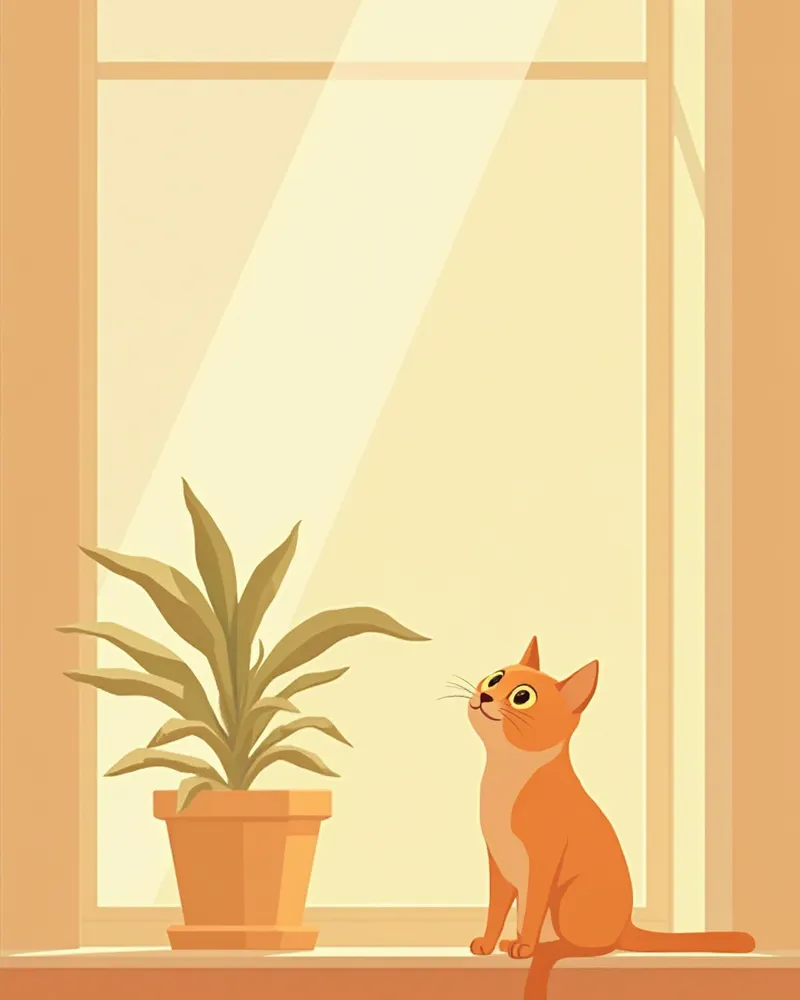
Position your child 1 to 2 meters away from the window, and angle the window at 45 degrees to create a "catchlight" in their eyes. This small sparkle can significantly enhance the vibrancy of the photo. Avoid direct midday sunlight, as it creates harsh shadows that can look awkward. Instead, aim for the soft light of early morning between 9 and 11 AM or about an hour before sunset.
A cat sitting by the window, basking in natural light, with a glint in its eyes.

Flash and Laser Pointers Are Strictly Prohibited

Sudden, bright flashes can cause glare and discomfort for pets. Cats, in particular, have a reflective layer in their eyes called the tapetum lucidum, which helps them see well in low light, but this also means they may be more sensitive to intense light. Additionally, laser pointers, which offer no tangible target, can lead to frustration or repetitive behaviors in some pets, so it’s best to avoid them. When trying to capture your pet’s attention during photos, opt for gentler methods like soft sounds, treats, or toys that minimize stress. Your pet’s comfort always comes before getting the perfect shot.

Practical Tips for Capturing Your Moving Pet
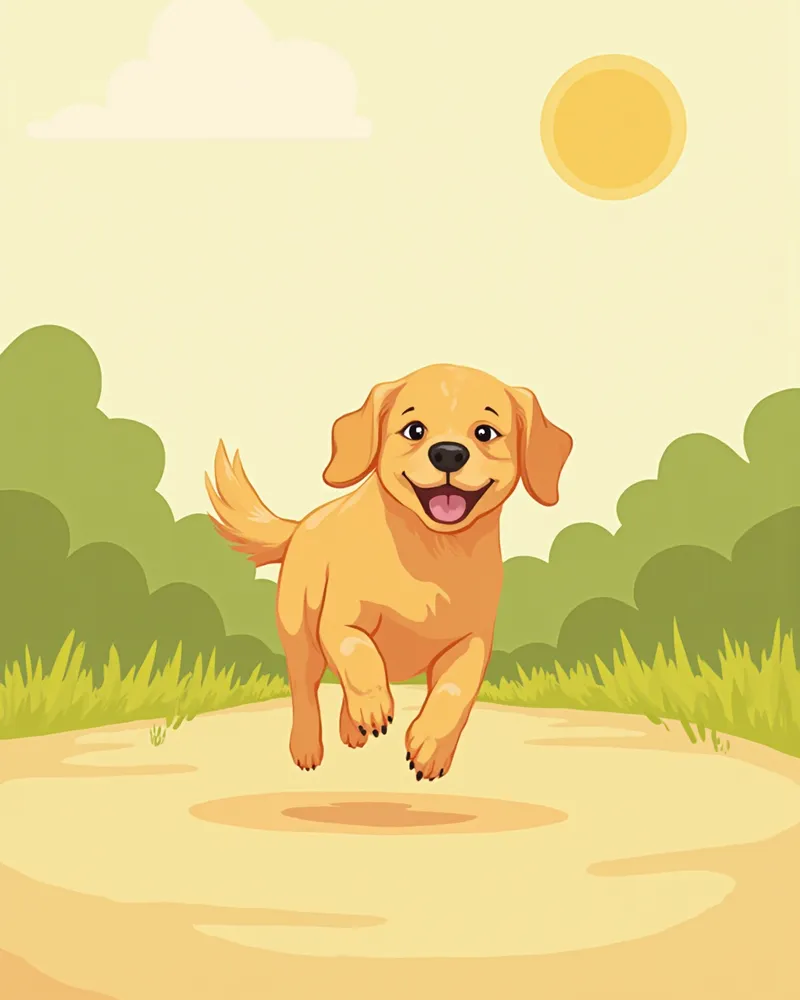
When capturing your dog mid-run or your cat mid-leap, burst mode is the way to go. Holding down the shutter button allows you to take over 10 photos per second, from which you can select the single best shot with the most appealing positioning of the eyes, ears, and paws. Always focus on the eyes. If you’re using a smartphone, tap once on the eyes on the screen to lock the autofocus (AF-Lock) before shooting—this significantly reduces the chance of a missed shot.
The dynamic sight of a retriever running toward the camera in the park.

How to Guide Your Pet's Gaze

The secret to capturing your pet’s gaze is sound. The crinkle of a treat bag or a gentle call using a familiar word like “treat” or “walk” will make their ears perk up and their expression focus. However, using the same sound repeatedly can lead to habituation, so it’s most effective when used sparingly. Always follow through with the promised treat after taking the photo. This positive reinforcement will make future photo sessions much easier.

Just Remember These 3 Compositions

- Frontal Close-Up: Center the eyes, nose, and mouth in the frame with a simple background—let the expression be the star. - Rule of Thirds: Place your pet along the left or right third of the frame to create a sense of space. - Low-Angle Full Shot: Position the camera on the floor to capture the full body; this makes the legs appear longer and gives a dignified, confident look. Just rotating through these three techniques will make your photo album much richer.

Signs of Shooting Stress: When to Stop

Repeated lip-licking (a calming signal), frequent yawning, ears pinned back, or a tail tucked between the legs are all signs that your pet wants to stop. If your cat’s tail is twitching rapidly or its ears are flattened sideways, these indicate excitement or discomfort—please pause the photoshoot and let them rest. Your pet’s emotional well-being always comes before getting the perfect shot.

The Key to Editing Is 'Not Overdoing It'

Basic smartphone adjustments are sufficient. Increase brightness by 10 and contrast by 5, while reducing saturation by about 5 to bring out the natural color of the fur. Excessive filters can distort eye color or make white fur appear blue and black fur appear gray, resulting in an unnatural look. In particular, when taking photos of the skin or eyes for veterinary consultations, always use the original, unedited image to ensure an accurate diagnosis.

Reviewed by a veterinarian

Dr. Tony — Punnawat Phongkittirak

Dr. Tony — Punnawat Phongkittirak

Veterinarian

A veterinarian who majored in veterinary medicine at Khon Kaen University, Thailand, and completed the IVSA program at North Carolina State University in the United States. Drawing on clinical experience at animal hospitals, he works in the pet healthcare field and is dedicated to building a digital care environment that connects pet parents with veterinarians.

Frequently Asked Questions

Why do black-coated puppies often have less distinct facial markings?
Black fur absorbs most light, which can make a dog’s face look flat and indistinct. Instead of shooting straight into the light, position your light source at a 45-degree angle from the side and increase the exposure by one stop. This will bring out the definition in the eyes and nose.
My cat runs away as soon as I pick up the camera.
Help your pet get comfortable with the camera first. For a few days before filming, keep your phone nearby and offer treats so they learn to associate it with positive experiences. Start by filming from a distance using zoom.
The photos come out too dark without the flash. What should I do?
Instead of turning on artificial lights, try moving your pet closer to a window or using a white wall or sheet of paper as a reflector. If it’s still too dark, it’s better for image quality to shoot during the day rather than increasing the ISO.
How should I take photos for a veterinary examination?
Please take the photos in natural light without any filters or adjustments, capturing both a close-up of the affected area and a full-body shot. Including notes on when the issue started and its size will help with the remote consultation.
Do you have any tips for capturing two pets in the same frame?
Hold a treat just above the camera lens, and capture the moment both pets’ eyes converge on it. If they’re not particularly close, don’t force them together—instead, photograph them naturally in their own spaces.

Share

Related Guides

References

[1] Overall, K.L., Manual of Clinical Behavioral Medicine for Dogs and Cats, 2013

[2] Horwitz, D.F. & Mills, D.S., BSAVA Manual of Canine and Feline Behavioural Medicine, 2nd Ed, 2009

This information is based on veterinary literature and does not replace diagnosis or treatment. Please consult a veterinarian for specific health concerns.

Metapet Co., Ltd. | CEO: Park Sung-yong | Business Reg. No. 417-88-02562 | Seoul, South Korea | Customer Center

Why Are Your Pet Photos Blurry? 10 Tips for Great Pet Photos | Meongsiljang